Better Than Cannabutter? Here’s How to Make a Delicious CannaMilk!
Marijuana has an awesome ability to be consumed in a whole variety of ways, giving us plenty of options to choose from when we actually use it – thankfully. You can smoke it, dab it, eat it and even drink it depending on which you prefer, and the more time passes the more ways we find.
Lately, there’s been a sudden surge in popularity in a type of edible called “cannamilk”, and it’s actually super-easy to make! Well, it’s just an easy thing overall: making it’s easy and you don’t need very many supplies either; using it is easier than cannabutter could ever hope to be and it’s much more versatile in its uses. Basically, if you haven’t checked it out yet you should probably start looking into it – welcome to our guide!
What’s the difference between Cannabutter and Cannamilk?

The main and largest difference between butter and milk, in regards to their use in edibles, would be the difference in fat content. Butter has much more fat than whole milk does, so if you’re trying to watch what you eat the milk would be a phenomenal substitution to keep an eye on your calorie intake.
What makes cannamilk so much simpler to use than the butter is that after you make it you don’t have to cook it into anything else, you’re done. Want to prepare for the day’s dose of random bodily pain? Throw some cannamilk over your favorite cereal and eat it all (including drinking up the remaining milk) and you’ll be walking on sunshine!
Ingredients

There’s not much you’ll need for this, as was stated above, but there are some optional items you can include we’ve listed below:
- 1 cup of Whole Milk (NOTE: whole milk has the highest fat content in the milk family, which you’ll need)
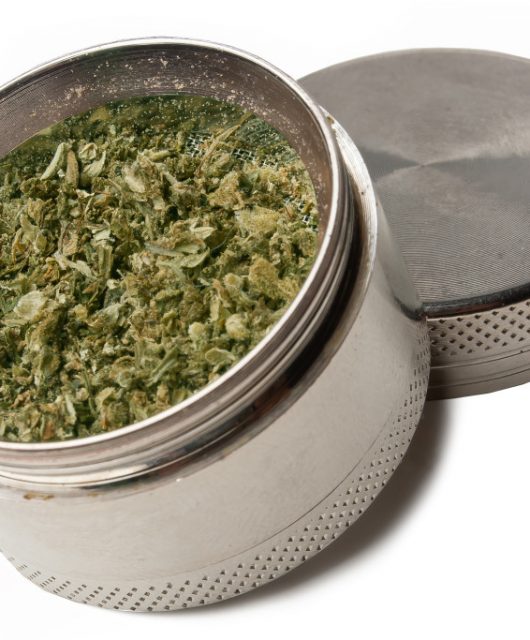
- 3.5 grams of your favorite weed
- 1 storage container
- Whisk or something to stir with
- A double-boiler would be perfect for what you need here, but if one isn’t available a pot and a large glass bowl would work fine
OPTIONAL ITEMS
- Cheesecloth
- Fine Mesh Strainer
NOTE: This would be a fairly potent cup, so feel free to use less weed or more milk to find your preferred dosage.
Instructions
- Due to the lesser fat content of the milk, many marijuana chefs suggest taking the time to decarboxylate your weed first.
- Toss your milk into a pot or pan and turn the heat up to medium; allow it to come to a boil, then turn it down to a good simmer.
- Slowly start to sprinkle in your decarbed marijuana while mixing until they’re fully combined.
- For the next half an hour to an hour just allow it to simmer there on the stove. At this point, you should check it occasionally and give it a nice stir. A little film may appear at the top but it’s not a big deal, just stir it back in and it’ll be just fine!
OPTIONAL STEP
If you’d rather keep the plant matter out of the milk (though you don’t have to), line your strainer with the cheesecloth and pour the milk through and allow it all to drain.
5. Pour your now-green milk into the storage container you set out for it and then put it back in the fridge to cool.
That’s about all there is to it, but the one thing to remember here is that the milk you used will still carry the exact same expiration date as what was printed on the original carton!
BONUS: Easy Uses List

Cannabis Tea (Using Cannamilk)
To make a cannabis tea all you’ll need to do is to take the cannamilk you made earlier and add it to a good, fresh brewed tea. Naturally, any tea that goes with creamer would be better suited, but you can always experiment and see what’s for you!
Coffee Creamer
Want a little pick-me-up with your pick-me-up? Throw some of the cannamilk in your coffee as your creamer and your day will quickly become much better.
Hot Chocolate
When the winter comes back around there’s nothing better than some hot chocolate on those colder days/nights, and now that you’ve got your cannamilk ready you can make some pretty potent hot cocoa’s!